Vehicle Branding That Works: From First Concept to Final Installation
A branded vehicle can put a business in front of thousands of people without paying for each individual view. It travels through the areas the company serves, appears at customer locations and continues working while parked.
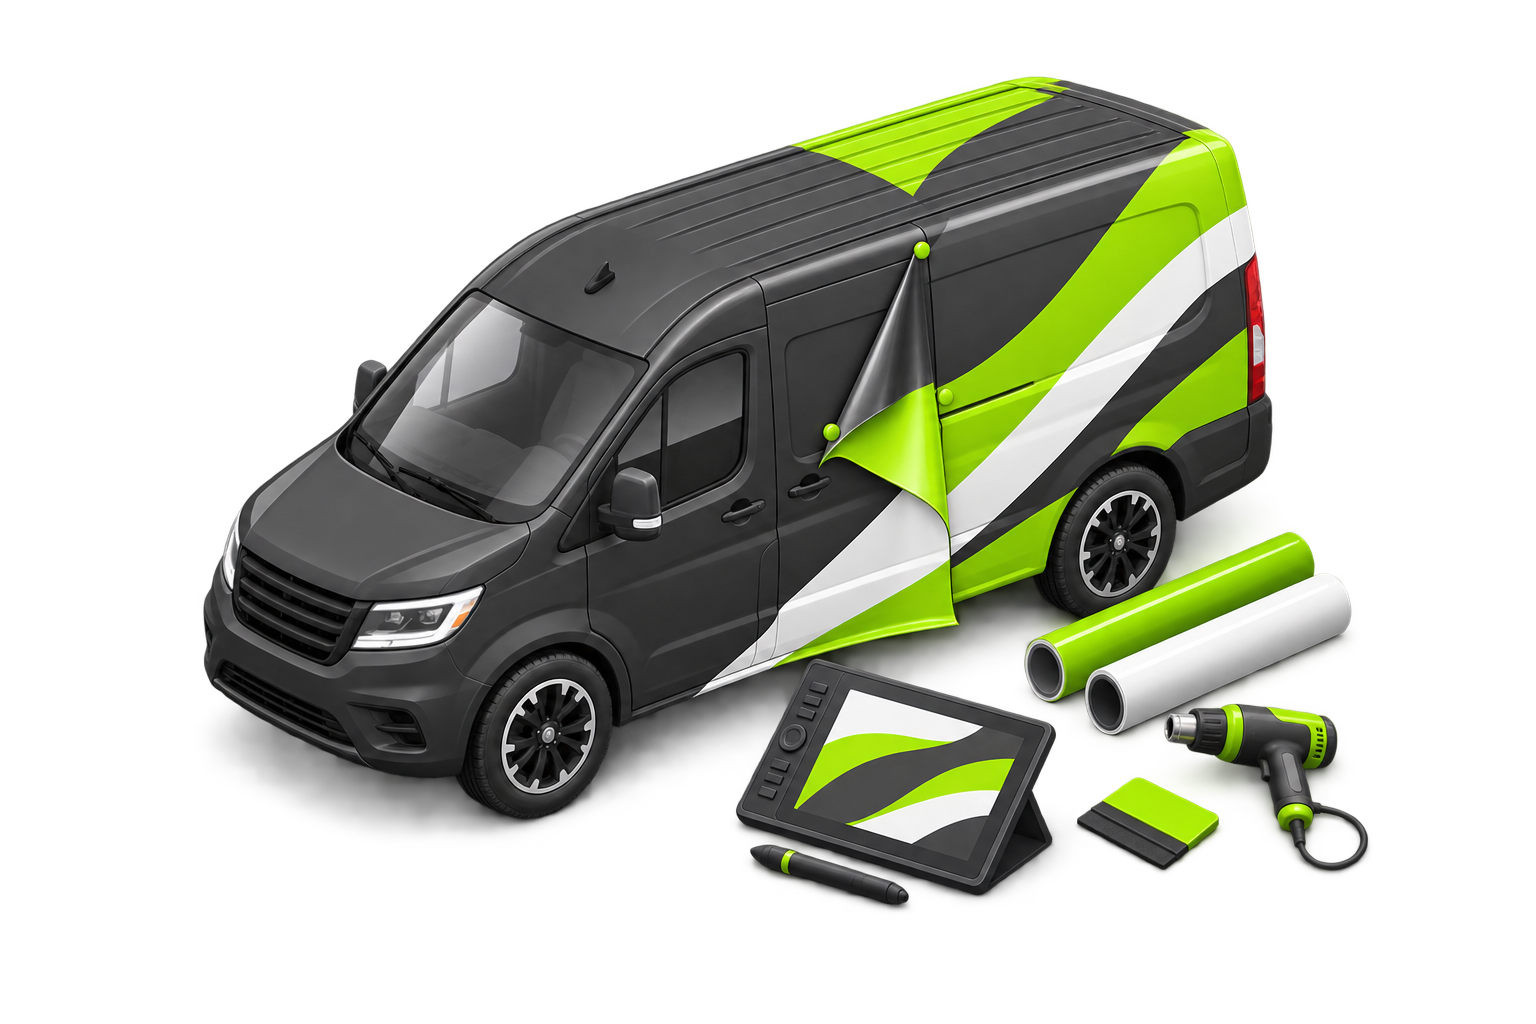
However, effective vehicle branding is not simply a flat graphic enlarged to fit a van. The design has to work around a three-dimensional object filled with doors, handles, windows, curves and panel gaps.
Decide what the vehicle needs to communicate
Before opening the artwork, identify the message someone should understand within a few seconds.
For most businesses, this means prioritising:
- The company name or recognisable logo
- What the business provides
- One clear way to make contact
- A memorable visual style
Trying to include every service, accreditation, social account and selling point usually makes the vehicle harder to understand. People may see it while driving, so clarity matters more than detail.
Design for movement and distance
Vehicle graphics should be tested at realistic viewing sizes. A telephone number that looks large on a computer screen may become unreadable across a road.
Strong contrast, simple typography and a clear visual hierarchy help the design work in motion. Important information should not be placed too close to wheel arches, handles or lower panels where dirt and road spray can reduce visibility.
The rear of the vehicle deserves particular attention because it may be seen for longer in traffic. It can carry a clear contact detail or web address without repeating every element from the sides.
Survey the actual vehicle
Templates are useful for initial design, but vehicles can vary by model year, wheelbase, roof height and factory options. Aftermarket equipment, repairs or conversions may create further differences.
A vehicle survey confirms the exact version and records important features. Measurements and straight-on photographs allow the artwork to be checked against the real panels before production.
This stage is particularly important for partial wraps and graphics intended to align with body lines.
Work with the vehicle's shape
The strongest designs often use the vehicle rather than fighting it. Panel lines can separate colours. Curves can create movement. Recesses can become deliberate negative space.
Critical information should stay on relatively flat, visible areas. Vinyl can be applied into many curves and recesses, but placing small text or precise details across them may distort the design.
Doors also move independently. A design may look correct when closed but become confusing when a sliding or rear door is open. This should be considered during artwork rather than discovered after installation.
Check paint condition and preparation
Vinyl adheres to the paint, so the condition of that surface matters. Rust, loose lacquer, chips, filler and poor-quality repairs can affect adhesion and may become more noticeable after graphics are applied.
Recently painted vehicles require suitable curing time before application. Installing vinyl too early can trap solvents or damage the new finish.
The vehicle should arrive clean but without wax, silicone-based products or ceramic coatings that could interfere with adhesion. The installation team will carry out final surface preparation before applying the graphics.
Choose materials for the application
Not every vehicle graphic needs the same vinyl system. Simple cut lettering, printed panel graphics and full wraps place different demands on the material.
Cast wrapping films are designed to conform around complex curves and recesses. Calendered films may be suitable for flatter, shorter-term applications. Printed graphics normally require a compatible laminate to protect the print and achieve the required finish.
Using a matched, recognised vinyl system helps support colour consistency, durability and predictable removal later.
Allow enough time for installation
Good vehicle graphics should not be rushed. Installation time depends on the size of the vehicle, coverage, complexity and condition.
The work should take place in a clean, controlled environment at an appropriate temperature. The vehicle may need to remain inside afterwards while edges and recessed areas are checked.
Planning the downtime in advance avoids pressure to release the vehicle before the installation is ready.
Look after the finished graphics
Careful washing helps vehicle branding remain presentable. Harsh chemicals, aggressive pressure washing and automated brushes can damage edges or reduce the life of the laminate.
Any lifting edge or impact damage should be reported early. A small repair is easier to manage before dirt and water reach beneath the film.
Treat the vehicle as part of the brand
The best vehicle branding feels designed for that particular vehicle and that particular business. It communicates quickly, works from multiple angles and remains practical to install and maintain.
Exton Group supports vehicle branding from initial design and survey through to print, installation and rollout coordination. Whether it is one vehicle or a wider fleet, the process should produce something that looks considered every time it goes on the road.
Stay in the loop
Get our latest projects, practical insights and company updates from across signs, retail and digital, delivered straight to your inbox.